scc logo209 721

Stripe Subscriptions

A Complete Guide
infographics Stripe recurring subscription

Table of Contents

Stripe + SCC

Feature Description

For those seeking to impose a recurrent fee, incorporating Stripe's subscription service using the Stylish Cost Calculator plugin on your WordPress site offers an unparalleled solution. The frequency of the recurring charges can be easily tailored to daily, weekly, monthly, or annual intervals, providing flexibility for your specific requirements.

Benefits & Features

Benefits

Features

What Are Some Use Cases?

icon-Recurso 27

Content-based websites

Establish a steady income stream through recurring payments for accessing premium content.

Online fitness platforms

Offer weekly or monthly subscription packages for virtual classes or access to workout materials.

Consulting businesses

Ensure consistent yearly revenue by setting up annual subscription fees for ongoing services.

How It Works

Enable the Stripe subscription feature in your calculator in 8 easy steps

Step 1. Verify your account

Before setting up subscriptions with Stripe, please ensure you have your Stripe account ready and have created and set up the cost calculator form.

Enable Stripe

Step 2. Enable Stripe

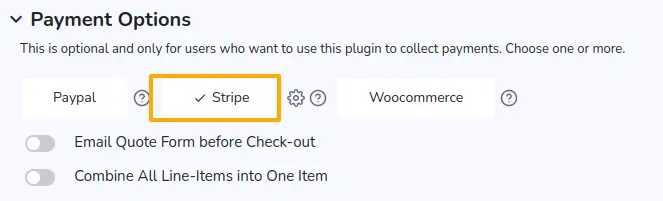
Enable Stripe from your calculator's editing page's 'Payment Options' section. Found at the bottom of the form for that specific calculator instance.

Stripe keys

Step 3. Stripe keys

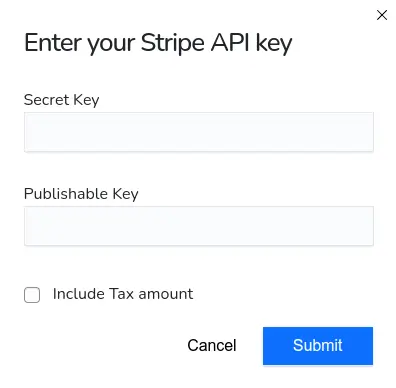
If you have not set up the Stripe keys in the Global Settings page yet, you'll be prompted to enter the Stripe keys here.

Grab your keys stripe

Step 4. Grab your keys

Grab your keys from this page 👉 https://dashboard.stripe.com/apikeys

Step 5. Copy and paste the keys

Go back to the calculator's editing page and copy and paste the keys from the Stripe Dashboard to the modal and save the form in the modal.

Payment Options Stripe

Step 6. Payment Options

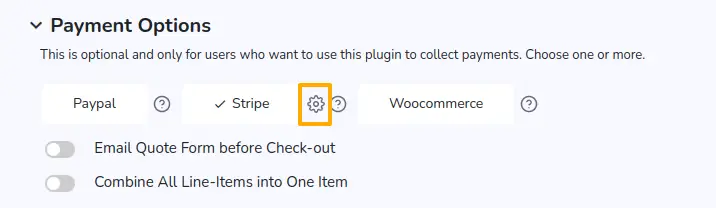
Click the gear icon beside the 'Stripe' button in the 'Payment Options' section.

Payment Options Stripe

Step 7. Final adjustments

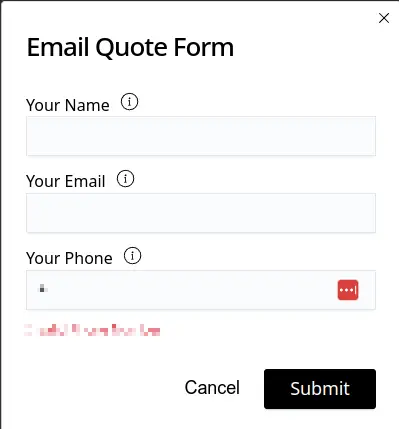
Give it an internal name and select the payment frequency.

Step 8. Save changes

Finally, hit the save button. You're done setting it up 🎉.

Frontend Experience

Now, see the Stripe button added to the User Action Button area on your calculator form

1. Quote form

After clicking Stripe, your users will be prompted to fill up the quote form.

2. Contact details

They're not prompted to enter their contact details.

3. Payment details

They are not prompted to input the name on the card, card number, expiry and CVC.

👉 After completion, the user will be presented with a Thank You screen.

Managing Subscriptions

After a successful subscription, the subscription data can be found on the Quotes & Leads Dashboard

Stripe Payment Data

Step 1. Enable the 'Stripe Payment Data'

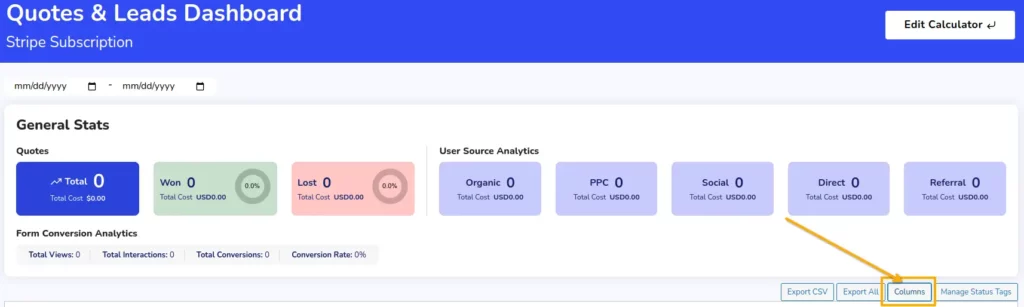
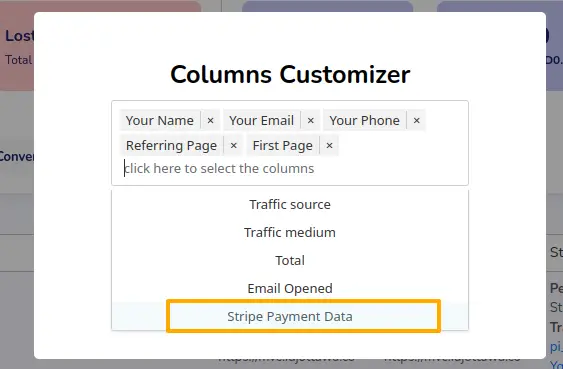
Enable the 'Stripe Payment Data' column from the column settings of the Quotes & Leads Dashboard screen.

Select Stripe Payment Data

Step 2. Select Stripe Payment Data

👉 After the ‘Stripe Payment Data’ column has been enabled, you will see the subscription period, customer ID, transaction ID, and subscription ID. Clicking on the ID values will late you to the management screen of that transaction/customer/subscription.

test stripe SCC

Step 3. Test

Managing Subscriptions from Stripe Dashboard

Step 1.

Login into Stripe

Step 2.

Click the Billing tab

Step 3.

Click on a subscription

Step 4.

Click Actions (right) and click cancel

SCC logo White
Don't miss a powerful feature! 👇
Newsletter Sign-up
Be the first to hear about our new features and tips!
We send an average of one email per month.